Cerwin Vega AT-12 Repair and Restoration
I was recently gifted a vintage pair of Cerwin Vega AT-12 Loudspeakers from a friend of mine's father, who graciously gave up his prized loudspeakers that were sitting in a sorry state in his garage. After receiving the speakers from their road trip from West Virginia to Connecticut, my good friend Brian and I began to tackle the project of restoring these speakers to their former event and party worthy condition.
Image 1: Side of One of the speakers in the back of Brian's car before their transport back home to begin the repair. Note their dusty and cobwebby condition as well as the gaping mouse hole in the speakers grill.
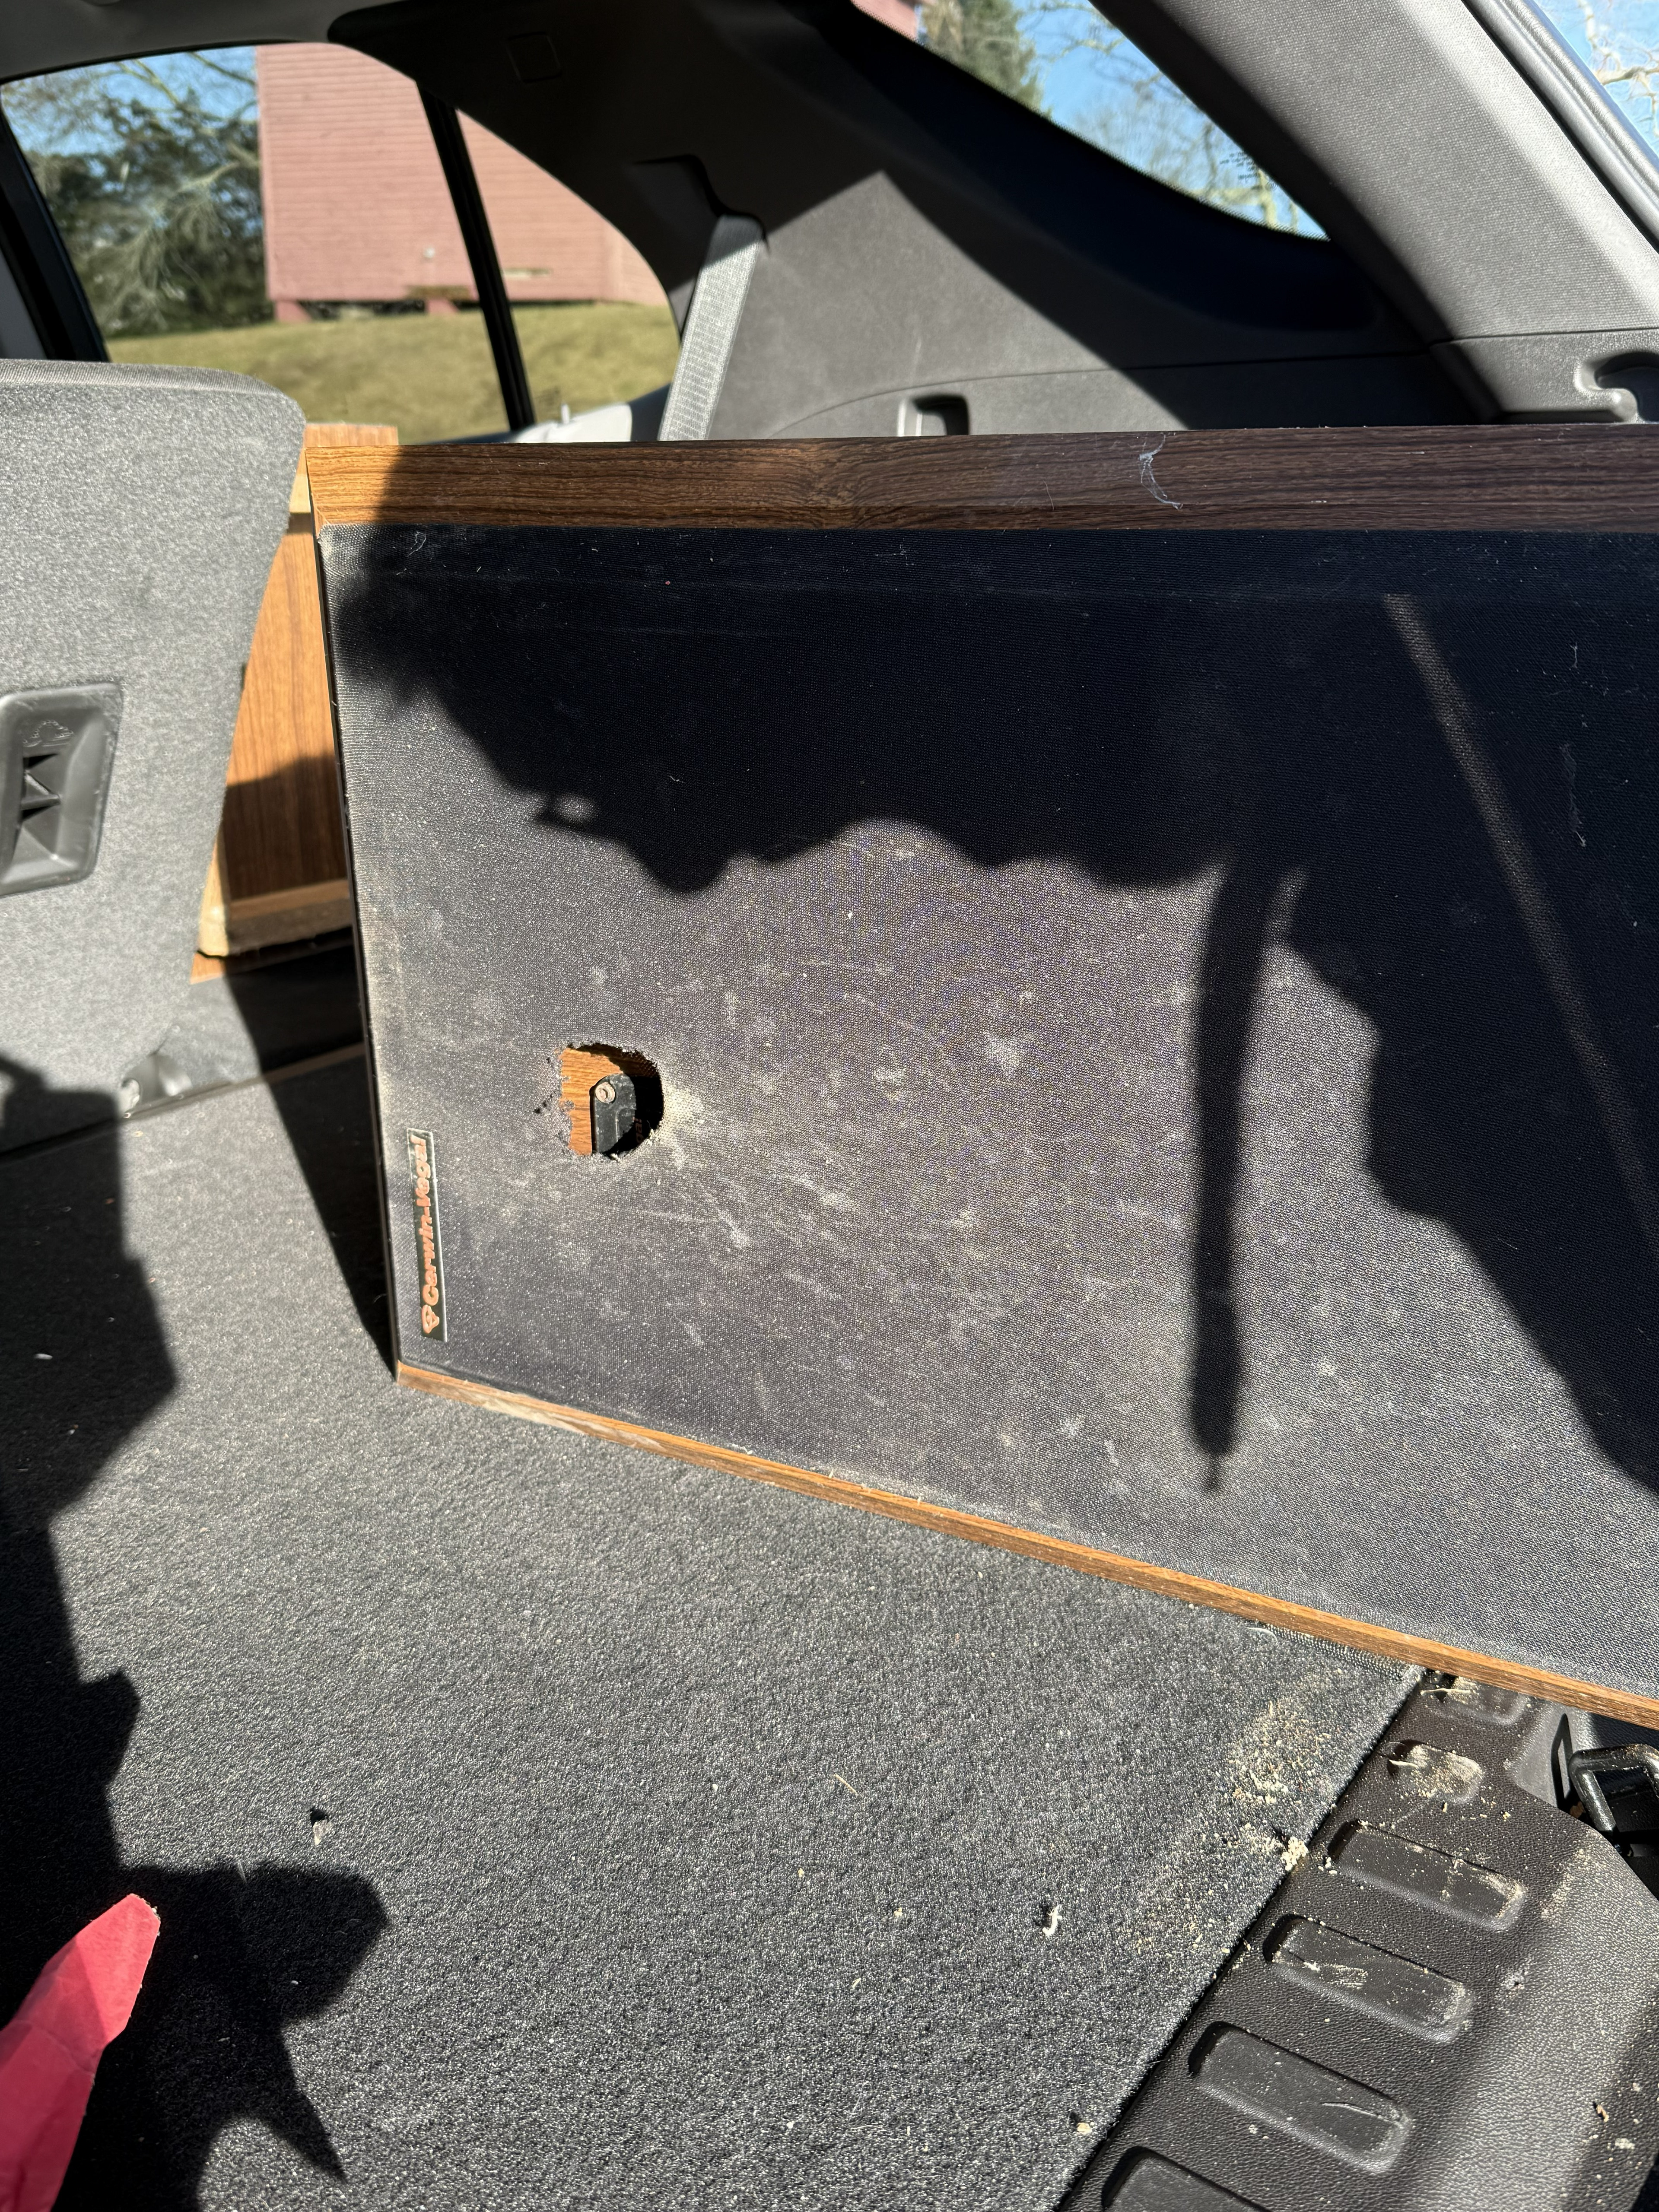
Once the speakers were successfully transported all the way back home (thanks Mara and Brian for lending much needed trunk space for the massive 3’x1.25’x1.5’ loudspeakers. Brian and I hauled the speakers down the stairs into my basement workshop. After fully removing the grills and giving the outsides a thorough cleaning we discovered the sorry state of the main drivers of the Vega’s. Speaker 1 was in okay shape with multiple big scratches and scuffs on the vinyl veneer as well as the main 122 woofer being devoid of all of its foam. Leaving disintegrated formerly red foam littering the driver and the inside of the chassis. However the mid range driver and the tweeter, both protected by factory grills, were pristine other than a couple specks of dust on the paper cones and dust caps.
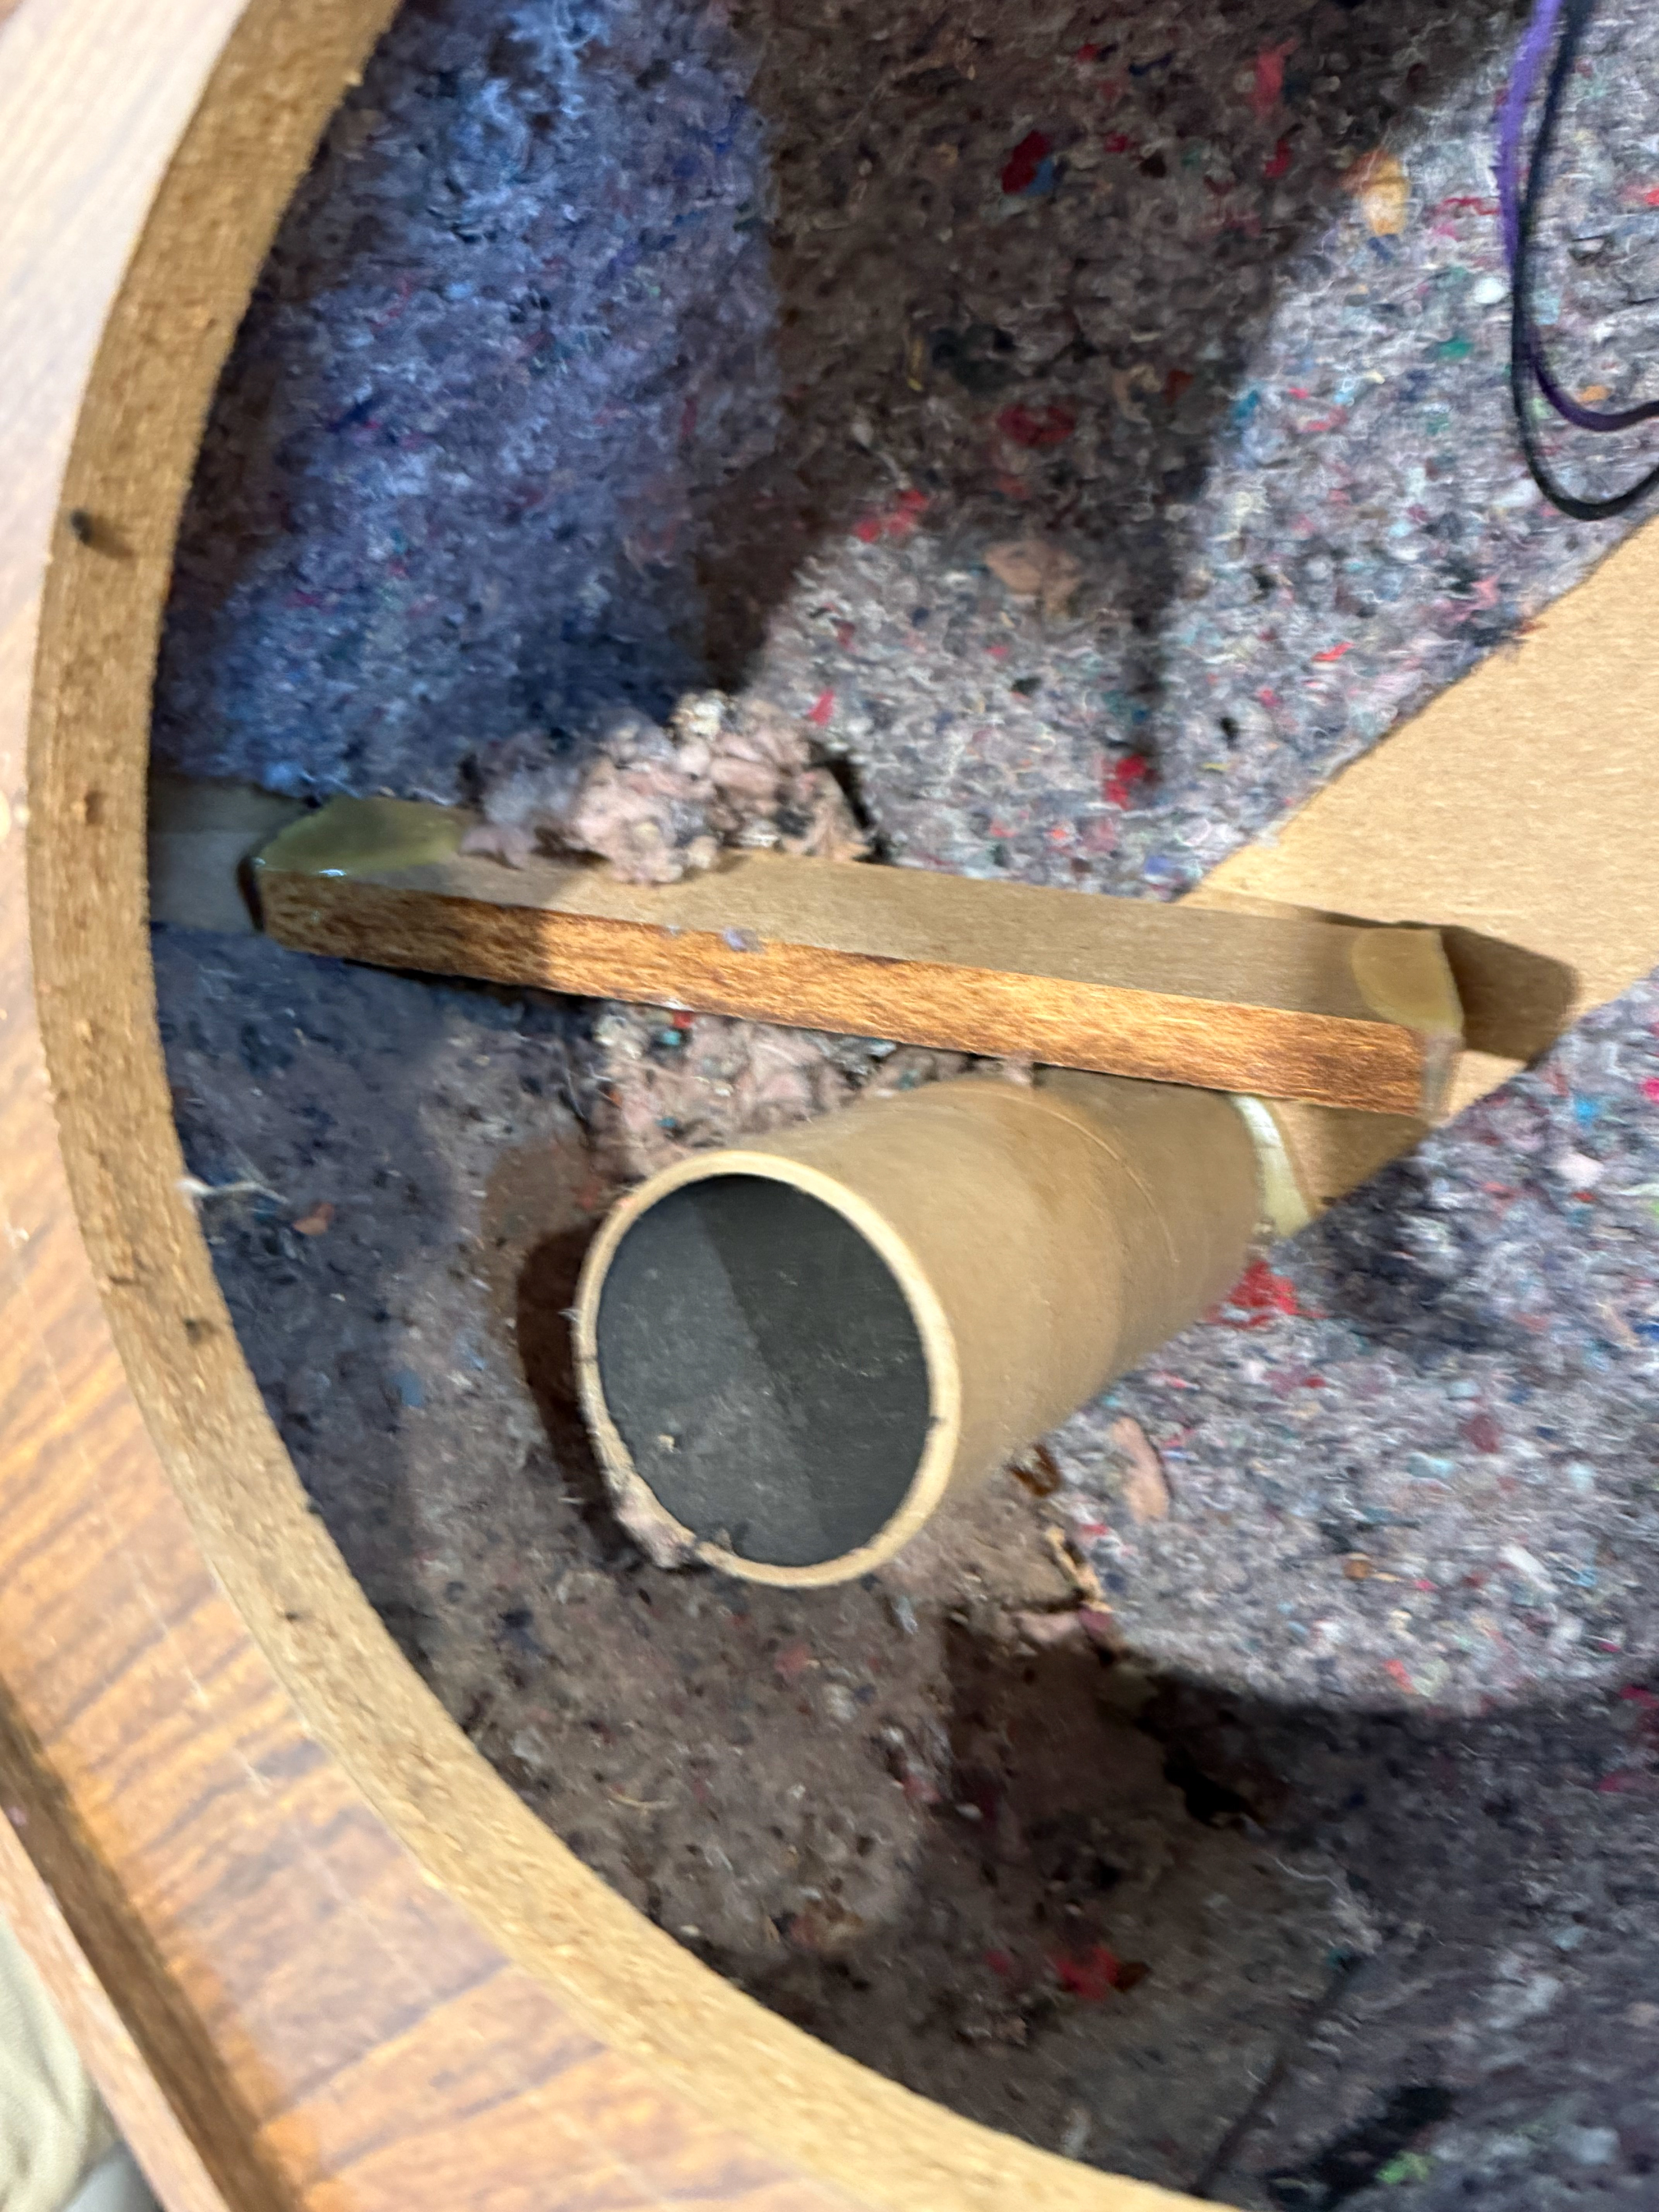
Speaker 2, however, other than its mid range and tweeter which were still protected by grills, had a large gaping hole seemingly carved out by a rodent visitor or perhaps part time resident, along with the crumbled remains of the driver's signature red vega foam. And upon further inspection, and then the removal of the main driver and rear cover we discovered a mass of debris and mouse house remains inside this speaker. Image II.
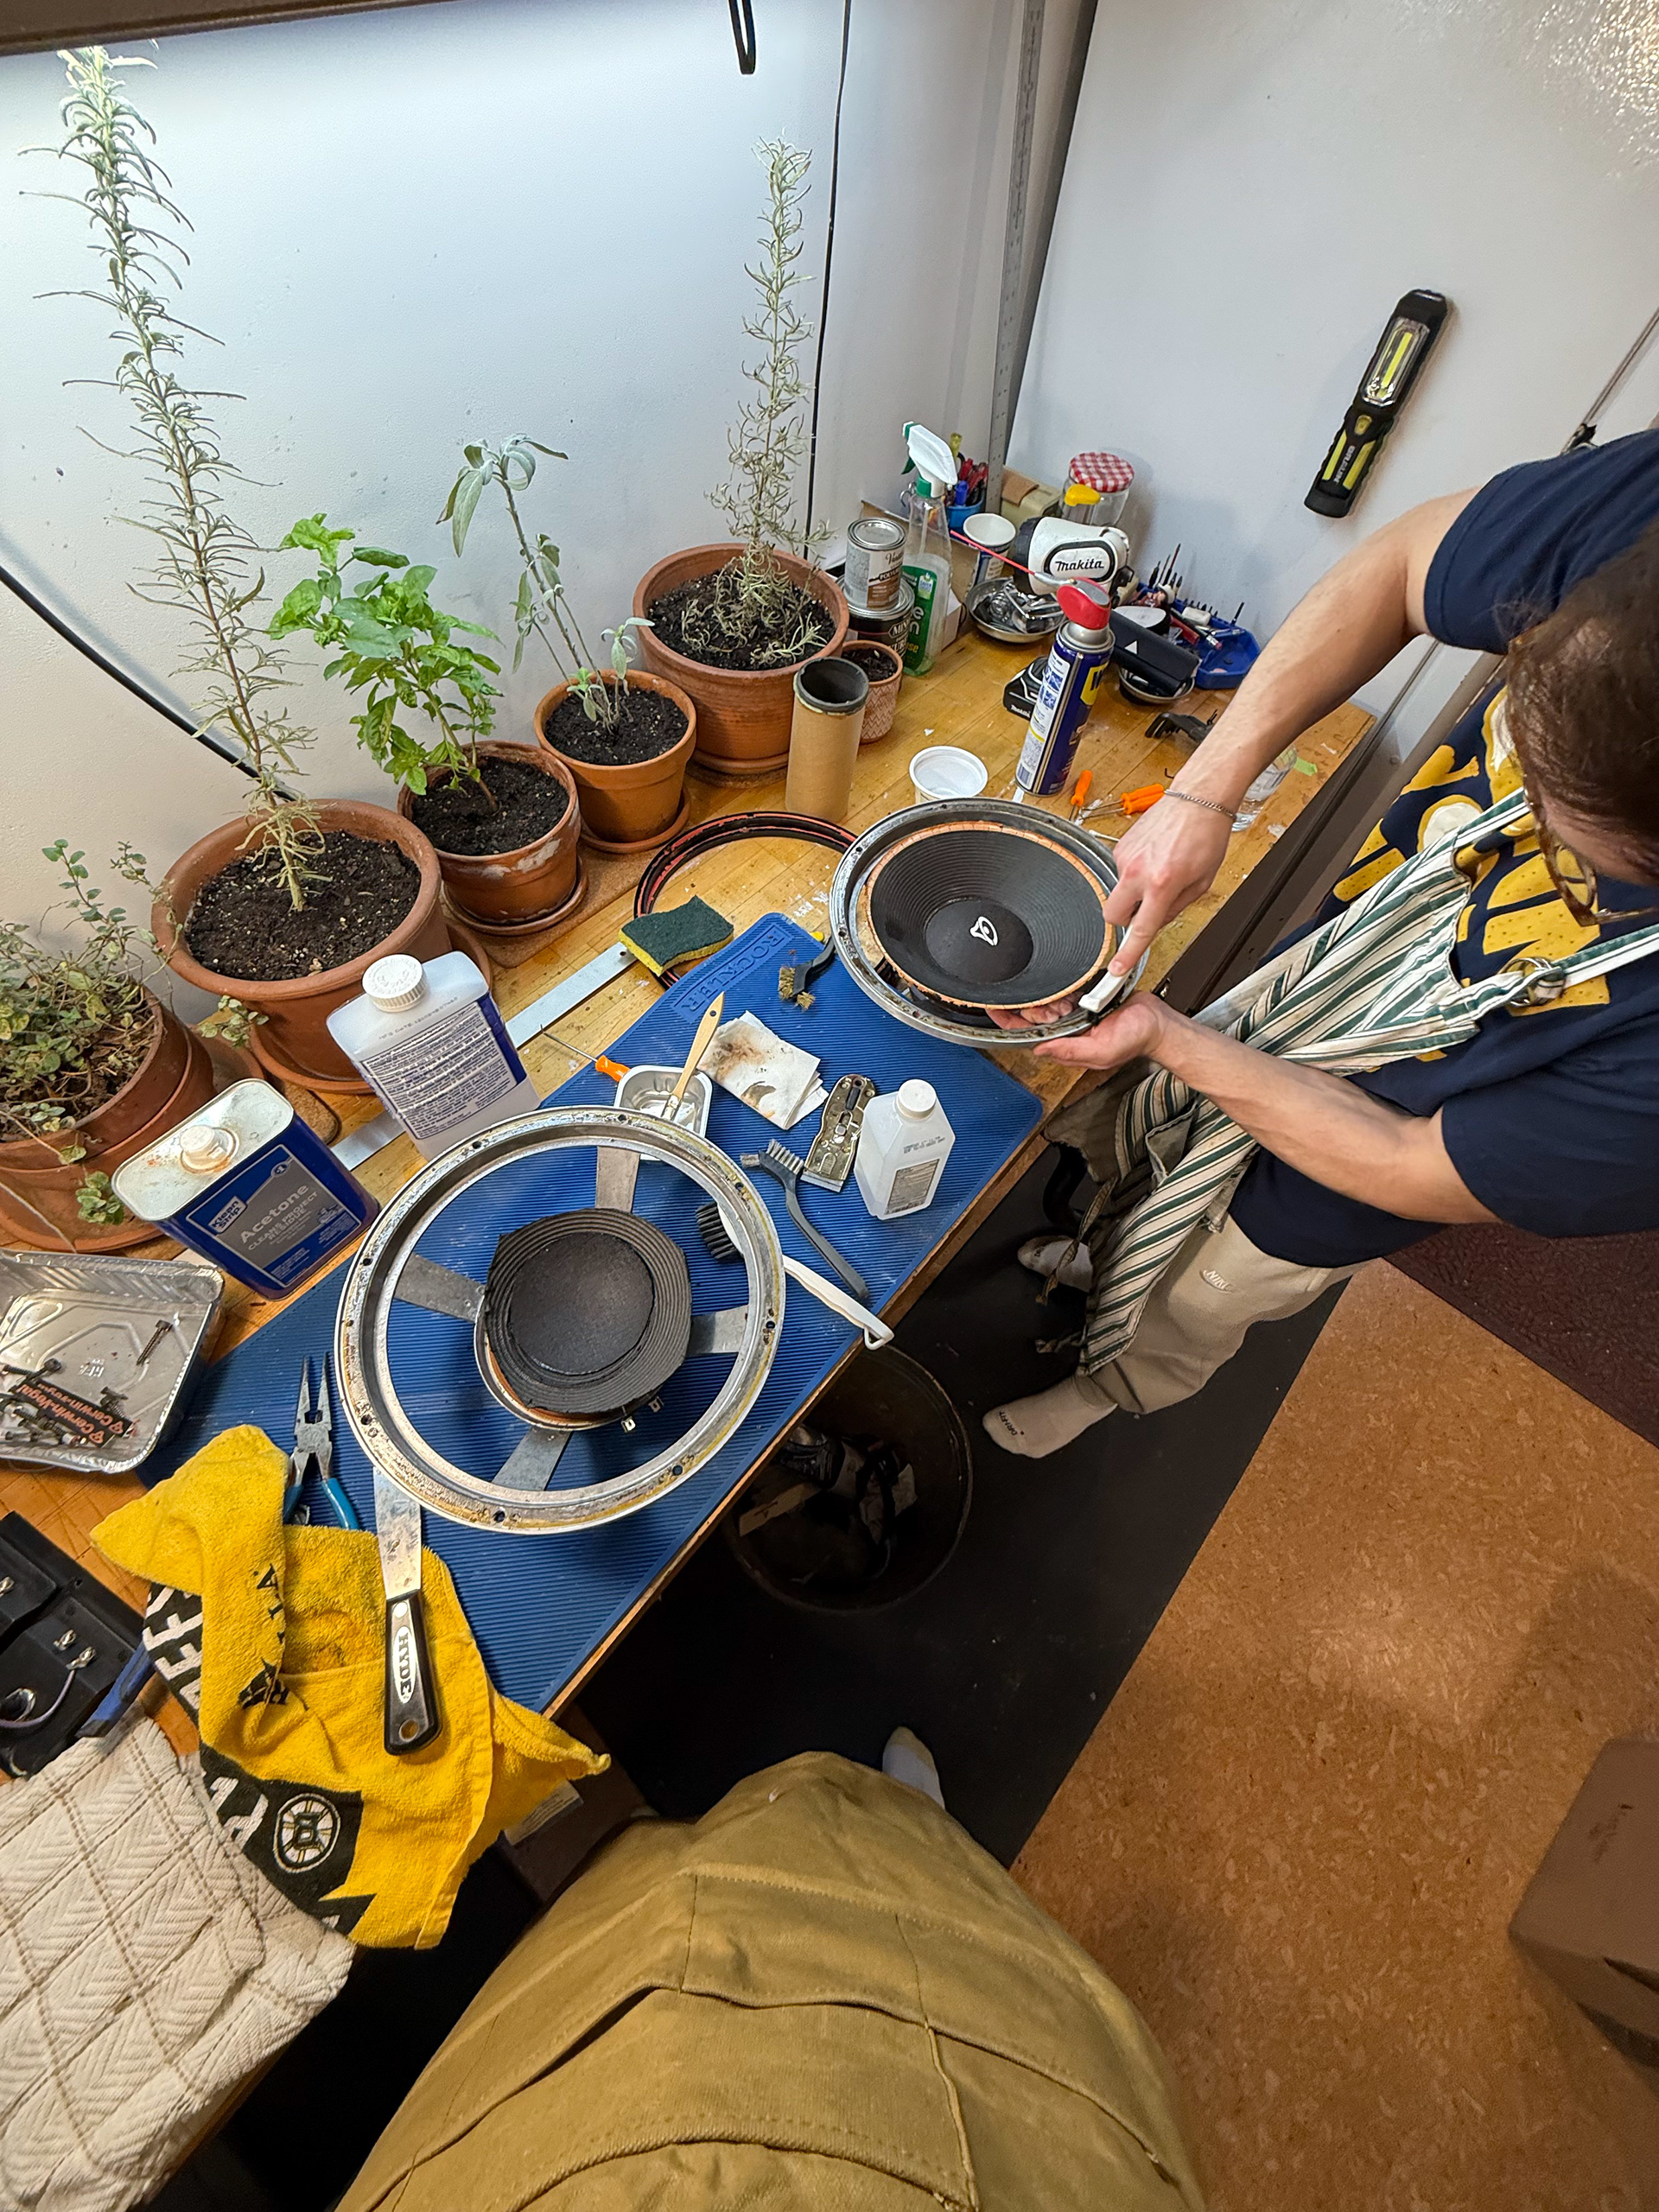
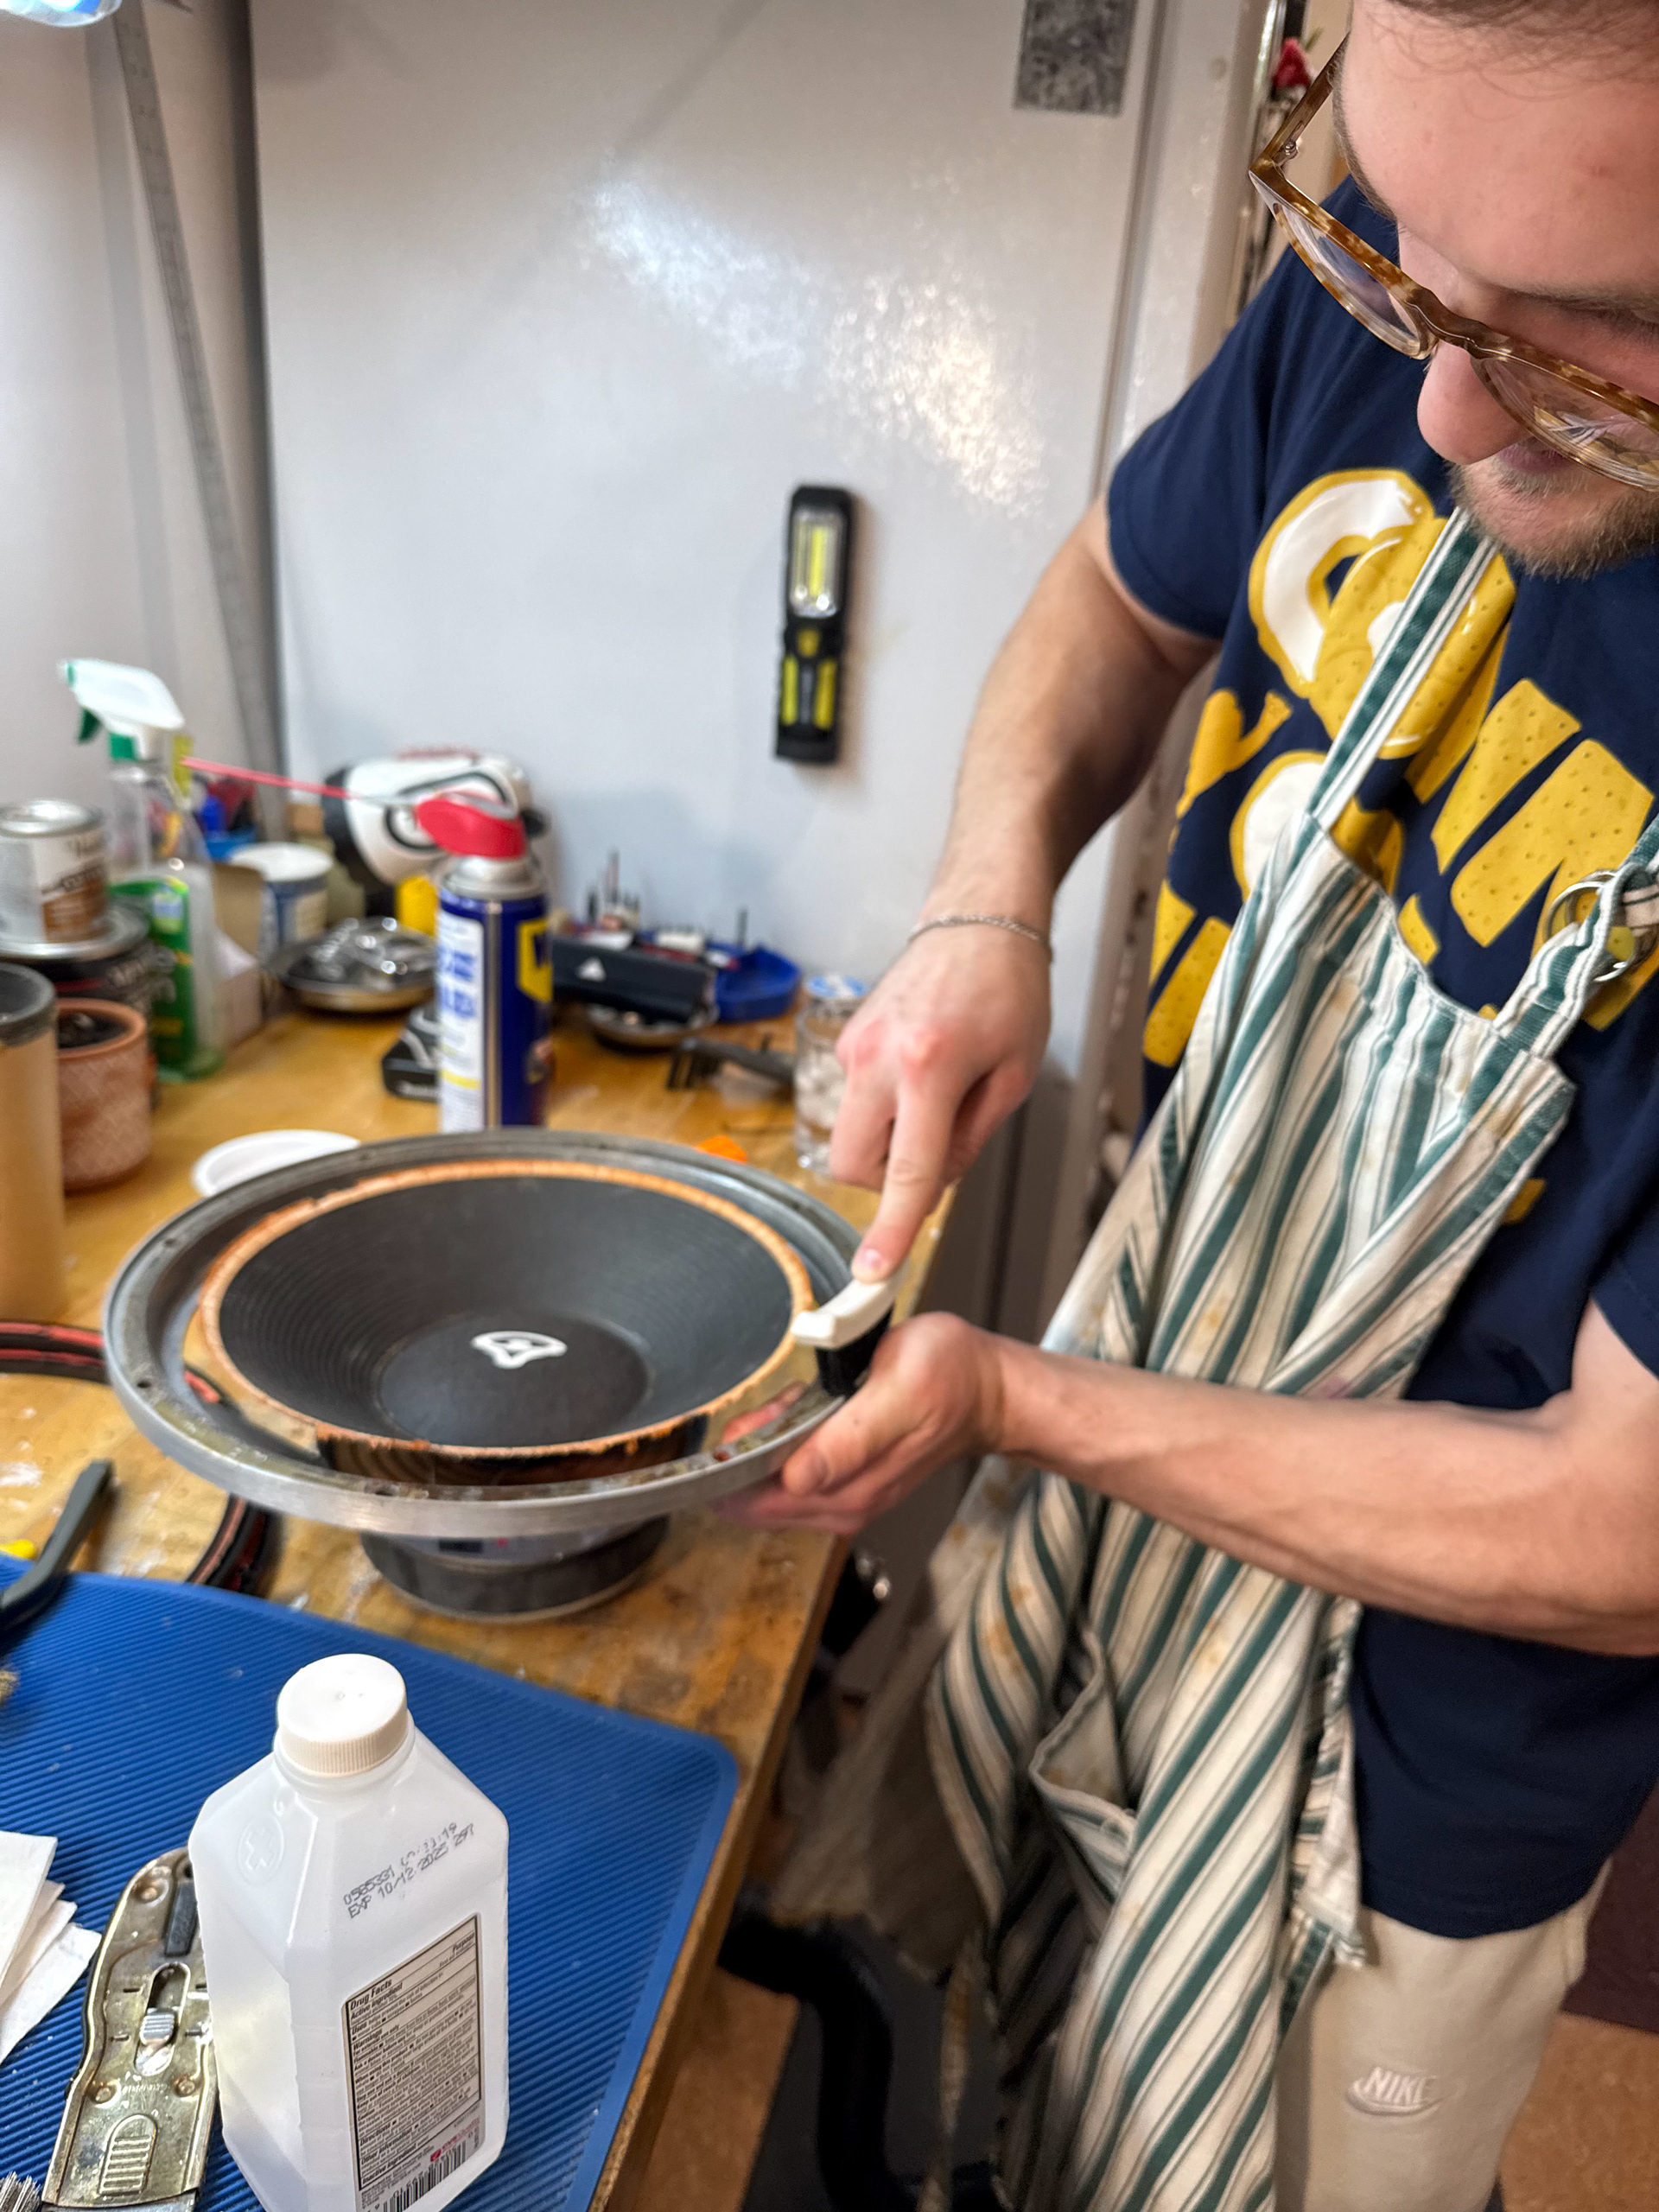
Before reviving and repairing the main 12in woofer we began to vacuum up and remove all the old inner insulation on the “mouse” speaker. Then we moved to disassembling both 12in drivers in need of some serious TLC. I had previously ordered a set of replacement foams and one paper replacement cone kit from The Speaker Exchange, https://reconingspeakers.com/, totaling right around 150$ USD including shipping. Aiming to repair these drivers with the most budget friendly approach as possible. The next step was simple; Remove the old foam from woofer # I and then attached the new replacement foam. Speaker II however was a bit more monumental of a task; where we needed to remove the old foam and then replace the paper cone and the main diaphragm of the speaker on which the cone rests on which is called the “spider.”
III & IV: Brian and I scraping off the old foam and glue.